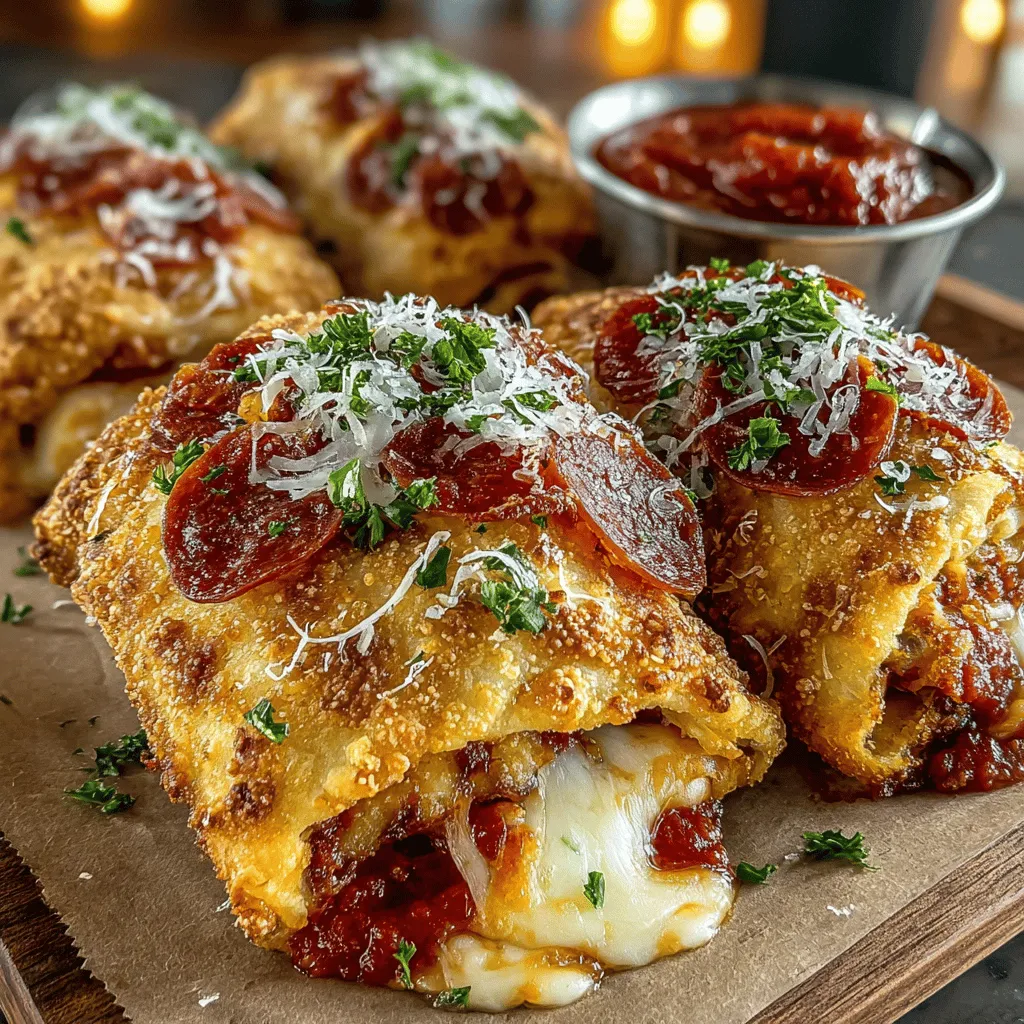
Back to School Pizza Roll-Ups Recipe
As summer winds down and the school year kicks into gear, parents often find themselves juggling hectic schedules filled with homework, extracurricular activities, and all the demands of daily life. Amidst this whirlwind, the need for easy and delicious meals becomes paramount. Enter the Pizza Roll-Ups—an ideal solution for busy families looking for a fun, customizable option for lunch or after-school snacks. These delightful roll-ups not only capture the essence of everyone’s favorite comfort food but also offer the convenience of homemade meals that can be tailored to suit individual tastes and dietary needs.
Understanding the Appeal of Pizza Roll-Ups
Pizza is a timeless family favorite, beloved by children and adults alike. Its versatility allows for a myriad of toppings and flavor combinations, making it a meal that can please even the pickiest of eaters. Pizza Roll-Ups take this beloved dish a step further, transforming classic pizza ingredients into a portable and mess-free option that’s perfect for lunch boxes or quick snacks after school.
The convenience of these roll-ups extends beyond their easy-to-eat nature; they are also a fantastic choice for meal prep. Parents can whip up a batch over the weekend, freeze them, and simply reheat them when hunger strikes. This not only saves time during busy weekdays but also ensures that kids are enjoying homemade meals rather than relying on pre-packaged, store-bought alternatives that often lack flavor and nutritional value.
What’s more, Pizza Roll-Ups are incredibly customizable. Families can adjust the ingredients based on personal preferences or dietary restrictions. Whether you’re accommodating a vegetarian diet, managing gluten sensitivities, or just aiming to introduce more vegetables into your kids’ meals, these roll-ups can be filled with whatever your heart desires.
Ingredients Overview
To create the perfect Pizza Roll-Ups, it’s essential to gather the right ingredients. Here’s a detailed breakdown of what you’ll need:
1. Pizza Dough: The foundation of your roll-ups. You can choose between store-bought or homemade pizza dough. Store-bought options are convenient and save time, but making your own dough from scratch allows for greater control over ingredients and flavor. If you opt for homemade, a simple recipe using flour, yeast, water, and salt can easily be prepared in advance.
2. Marinara Sauce: This tangy sauce is a critical component for flavor, providing the classic pizza taste that everyone loves. You can use store-bought marinara for convenience, or you can make your own by simmering tomatoes with garlic, onions, and herbs for a fresh, homemade touch.
3. Cheese: A generous amount of cheese is essential for achieving that gooey, melty texture. Mozzarella is the traditional choice, but feel free to experiment with provolone, cheddar, or even a dairy-free alternative if necessary.
4. Toppings: The variety of toppings you can choose from is virtually endless. Classic options like pepperoni or sausage are always crowd-pleasers. If you’re looking to incorporate vegetables, consider bell peppers, mushrooms, or spinach. For those with dietary restrictions, there are plenty of gluten-free and vegan toppings available on the market.
5. Seasonings: Don’t forget to enhance the flavor with seasonings. Italian seasoning, garlic powder, and even a sprinkle of oregano can elevate your roll-ups to a new level of deliciousness. For spice lovers, crushed red pepper flakes can add a kick that makes these roll-ups even more exciting.
6. Optional Ingredients: Depending on your family’s preferences, consider adding ingredients like olives, artichokes, or even a drizzle of pesto for an extra layer of flavor.
Step-by-Step Instructions
Now that you have a clear understanding of the ingredients, it’s time to dive into the preparation of your Pizza Roll-Ups. Here are the initial steps to get you started:
Preheating the Oven: Start by preheating your oven to 400°F (200°C). This temperature is critical for achieving the perfect crust—crispy on the outside while remaining soft and chewy on the inside.
Preparing the Dough: Whether you’re using store-bought or homemade dough, the preparation is key. If you’re making your own dough, allow it to rise according to the recipe instructions until it has doubled in size. Once ready, lightly flour your work surface to prevent sticking.
Rolling Out the Dough: Take a portion of your pizza dough and flatten it with your hands before using a rolling pin to roll it out into a rectangular shape. Aim for a thickness of about 1/4 inch. This thickness allows the dough to cook evenly while still being pliable enough to roll without tearing.
Managing Flour: As you roll out the dough, it’s important to manage the amount of flour you use. Too much flour can lead to a dry texture, while not enough can cause the dough to stick. Keep a small bowl of flour handy to dust your surface and the dough as needed to prevent sticking.
With these foundational steps in place, you’re well on your way to creating delicious Pizza Roll-Ups that will not only satisfy the cravings of your family but also make for an easy and enjoyable cooking experience. Stay tuned for the next section, where we’ll delve into the fun part—filling and rolling your Pizza Roll-Ups!

Creating delightful meals for the school season can be both fun and fulfilling. One of the best ways to keep your family excited about mealtime is with these Pizza Roll-Ups. They offer a versatile base for flavors, making them perfect for lunchboxes or quick dinners. Here’s how to build incredible flavor into your Pizza Roll-Ups, roll them up perfectly, bake them to golden perfection, and serve them in a way that excites everyone at the table.
Building the Flavor Base
The key to a delicious Pizza Roll-Up lies in the flavor base. Start by choosing a high-quality pizza sauce that complements the other ingredients without overpowering them. For a homemade touch, consider simmering crushed tomatoes with garlic, oregano, and a pinch of sugar to balance acidity.
Techniques for Spreading Sauce and Layering Cheese
When it comes to spreading the sauce, use a spatula or the back of a spoon for an even layer, leaving about half an inch of space at the edges to prevent spillage during rolling. The cheese is another layer that contributes to the flavor and texture. Opt for a blend of mozzarella and provolone for that signature stretchy goodness. Sprinkle the cheese evenly over the sauce, ensuring every bite will have that melty, cheesy experience.
Strategies for Evenly Distributing Toppings
To maintain a balanced flavor profile throughout your Pizza Roll-Ups, evenly distribute your toppings. Start with a base of cheese, then add your desired toppings—pepperoni, bell peppers, olives, or spinach. Lay them out in a single layer. Avoid overloading one side, which could lead to uneven rolling and potential spills. For a more gourmet twist, consider adding fresh basil or a sprinkle of red pepper flakes for an extra kick.
Rolling and Slicing
Now that you’ve built a robust flavor base, it’s time to roll up those Pizza Roll-Ups.
Method for Rolling to Maintain Filling Integrity
Begin by rolling from one edge of the dough, applying gentle pressure so that the filling stays intact. Use the edges of the dough to tuck in the toppings slightly as you roll, ensuring a tight spiral that holds the fillings in place. This technique helps prevent the filling from spilling out during baking, ensuring a tidy presentation.
Tips for Achieving Even Slices
Once rolled, use a sharp knife or a pizza cutter to slice your Pizza Roll-Ups into equal pieces. Aim for about one to one-and-a-half inches in width. This size allows for quick cooking and ensures even baking. If you’d like, you can wipe the knife between cuts to maintain clean edges, which enhances the visual appeal of your finished product.
Baking Process
Baking is where the magic happens.
Importance of Olive Oil for Browning and Flavor Enhancement
Before placing your roll-ups in the oven, brush them lightly with olive oil. This not only enhances the flavor but also promotes that beautiful golden-brown crust. For an extra touch of flavor, sprinkle some garlic powder or Italian seasoning over the top right after applying the olive oil.
Baking Time and Visual Cues for Doneness
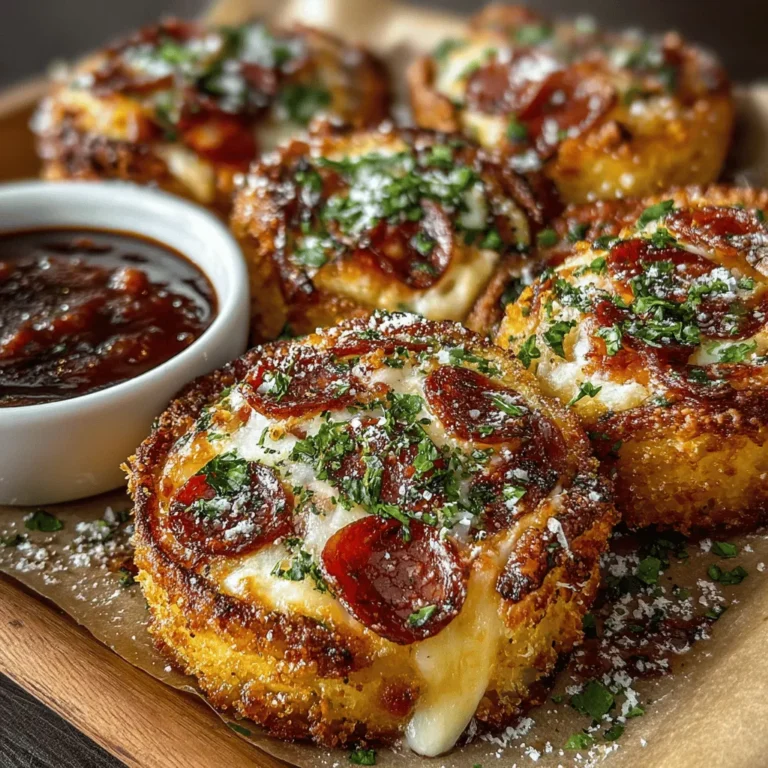
Preheat your oven to 375°F (190°C) and bake the Pizza Roll-Ups for about 15-20 minutes, or until they are golden brown and the cheese is bubbling. Keep an eye on them towards the end of the baking time to ensure they don’t overcook. The visual cues include a crispy, golden exterior and melted cheese peeking out from the edges.
Serving Suggestions
Now that your Pizza Roll-Ups are perfectly baked, it’s time to serve them creatively.
Creative Ideas for Serving Pizza Roll-Ups
These roll-ups can be served as a standalone meal or as part of a fun lunchbox offering. Consider arranging them on a platter with colorful toothpicks or skewers for a party-friendly presentation.
Pairing with Dipping Sauces
While marinara sauce is a classic pairing, don’t shy away from other sauces! Ranch dressing, garlic aioli, or pesto can elevate the flavors and offer a delightful contrast. Set up a dipping sauce station to allow everyone to customize their experience.
Suggestions for Side Dishes or Salads
Complement your Pizza Roll-Ups with fresh side dishes. A simple garden salad with a light vinaigrette works well, or you might prepare some crispy carrot sticks with hummus. These sides add nutritional value and balance to the meal.
Presentation Ideas for a Fun Lunchbox Treat
For a fun lunchbox presentation, slice the Pizza Roll-Ups into smaller pieces and pack them with a variety of colorful fruits and veggies. You could include grape tomatoes, sliced cucumbers, or a small container of your favorite dip. Wrapping them in parchment paper and securing them with a string adds a charming touch.
Nutritional Benefits of Pizza Roll-Ups
Pizza Roll-Ups aren’t just delicious; they can also be a nutritious choice.
Nutritional Value of Ingredients Used
By opting for whole grain dough and fresh vegetables, you can significantly enhance the nutritional value of your Pizza Roll-Ups. Whole grains provide fiber, which is essential for digestive health, while colorful vegetables add vitamins and minerals.
Customizable Nature Allows for Healthier Choices
One of the best features of Pizza Roll-Ups is their customizability. You can easily swap out processed meats for grilled chicken or turkey, or use plant-based cheese for a vegan option. The ability to modify ingredients means you can cater to dietary preferences while still creating a meal everyone will enjoy.
How Pizza Roll-Ups Can Fit into a Balanced Diet
Incorporating Pizza Roll-Ups into your family’s meal rotation can help achieve balance. Pair them with fresh produce and limit high-calorie toppings. This way, you maintain the fun of pizza while ensuring it contributes positively to your overall diet.
Conclusion
Pizza Roll-Ups are not just a meal; they are an experience that brings families together, especially during the bustling back-to-school season. Their ease of preparation and versatility allows for endless possibilities with flavors and toppings, making them a hit for both kids and adults alike.
Encouraging creativity in the kitchen can transform mealtime into a fun family activity. So gather your loved ones, roll up your sleeves, and enjoy the process of cooking together. These Pizza Roll-Ups will become a cherished tradition, perfect for busy school days or leisurely weekends. Remember, the joy of cooking lies in the connections we make and the memories we create around the table. Get ready to make mealtime exciting with these delightful Pizza Roll-Ups!


