Frozen Cherry Chocolate Oat Bars Recipe
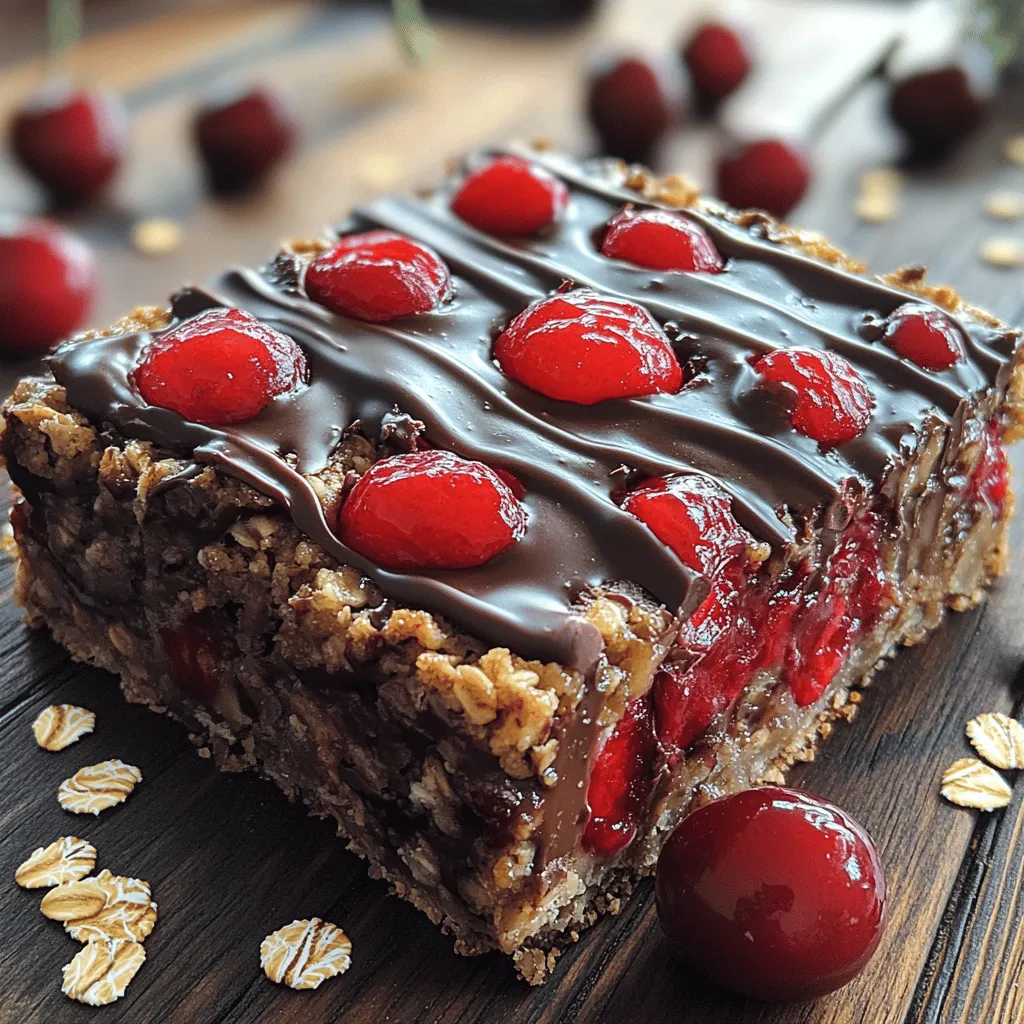
When it comes to delicious and nutritious snacks, few options can rival the appeal of frozen cherry chocolate oat bars. This delightful recipe not only satisfies your sweet tooth but also serves as a wholesome dessert or snack, perfect for any time of the day. The combination of sweet cherries, rich chocolate, and hearty oats creates a delectable treat that is sure to please both kids and adults alike. Whether you’re looking for a healthy indulgence post-workout or a quick on-the-go snack, these oat bars check all the boxes.
What makes these frozen cherry chocolate oat bars stand out is not just their delicious flavor profile but also their ease of preparation. With just a few simple steps, you can whip up a batch of these bars that are freezer-friendly, allowing you to enjoy them whenever the craving strikes. Packed with nutrients and free from refined sugars, these bars make for a guilt-free treat that supports your health goals. Let’s dive into the key ingredients that contribute to the wholesome goodness of this recipe, as well as the initial steps to prepare these delightful bars.
Understanding the Key Ingredients
Rolled Oats
At the heart of our frozen cherry chocolate oat bars lies the rolled oats. These whole grains are an excellent source of dietary fiber, which is essential for maintaining a healthy digestive system. The high fiber content in oats also contributes to heart health by helping to lower cholesterol levels. Moreover, oats provide a satisfying structure to the bars, ensuring that they hold together nicely while delivering a chewy texture that complements the sweetness of the cherries and the richness of the chocolate.
Almond Flour
To enhance the texture and nutritional profile of our bars, we incorporate almond flour. This gluten-free alternative to traditional wheat flour is packed with healthy fats and protein, making it a great choice for those following a gluten-free or low-carb diet. Almond flour also elevates the flavor, adding a subtle nuttiness that pairs beautifully with the other ingredients. Additionally, the healthy fats found in almond flour can contribute to satiety, helping you feel full and satisfied after enjoying a bar.
Coconut Oil
Coconut oil is another key ingredient in our recipe, playing a vital role in binding the base ingredients together. Known for its health benefits, coconut oil contains medium-chain triglycerides (MCTs), which may provide a quick source of energy and support metabolism. When using coconut oil in our oat bars, it adds a slight richness and helps create a moist texture, ensuring that the bars don’t dry out during the freezing process.
Maple Syrup and Honey
For natural sweetness, we turn to maple syrup and honey. Both of these natural sweeteners bring unique flavor profiles to the bars. Maple syrup offers a distinct, robust sweetness that pairs wonderfully with the tartness of the cherries, while honey adds a floral note that enhances the overall taste. It’s worth noting that maple syrup is often considered a healthier alternative to agave nectar, as it contains beneficial antioxidants and minerals. By using these natural sweeteners, we avoid the need for refined sugars while still satisfying our sweet cravings.
Frozen Cherries
Frozen cherries are a star ingredient in our oat bars, offering a burst of flavor and nutrition. Rich in antioxidants, vitamins, and minerals, cherries provide numerous health benefits, including anti-inflammatory properties and support for heart health. Using frozen cherries not only makes this recipe more convenient, but it also ensures that you can enjoy the taste of cherries all year round, regardless of the season. Plus, the natural sweetness and tartness of the cherries creates a harmonious balance with the chocolate and oats.
Dark Chocolate
No dessert would be complete without chocolate, and in this recipe, we choose dark chocolate for its rich flavor and health benefits. Dark chocolate is known for its high antioxidant content, which can help protect the body from oxidative stress. Additionally, studies suggest that dark chocolate can boost mood and improve heart health when consumed in moderation. When selecting chocolate for drizzling over the bars, opt for high-quality dark chocolate with a cocoa content of at least 70% to maximize the health benefits and flavor.
Step-by-Step Instructions for Preparing Frozen Cherry Chocolate Oat Bars
Preparing the Base
Now that we’ve explored the key ingredients that make our frozen cherry chocolate oat bars so special, it’s time to dive into the preparation process. The first step is to create the base for the bars by combining the dry and wet ingredients. Begin by measuring out your rolled oats and almond flour, ensuring that they are well-combined in a mixing bowl. This mixture forms the foundation of your bars, so achieving the right texture is crucial.
Next, in a separate bowl, combine the coconut oil, maple syrup, and honey. If your coconut oil is solid, gently warm it until it becomes liquid, making it easier to mix with the other wet ingredients. Once combined, gradually pour the wet mixture into the bowl with the dry ingredients, mixing thoroughly. You want to ensure that the oats and almond flour are evenly coated with the sweet mixture, forming a cohesive dough.
As you mix, keep an eye on the texture. The final dough should be slightly sticky but not overly wet. If it feels too dry, you can add a splash of water or a bit more melted coconut oil to achieve the desired consistency. Conversely, if it’s too wet, adding a little more almond flour or oats can help balance it out.
Once you’ve achieved the right texture, it’s time to fold in the frozen cherries. Gently mix them into the dough, being careful not to break them apart too much. The cherries will add moisture and sweetness to the bars, making them even more delicious.
With the base prepared, you’re now ready to press the mixture into a lined baking dish, creating a uniform layer that will form the bars. Use a spatula or your hands to spread the mixture evenly, ensuring that it reaches the edges of the dish. This step is essential for ensuring that the bars are cohesive and easy to cut once frozen.
Following these steps will set the foundation for your frozen cherry chocolate oat bars, leading you one step closer to enjoying this delightful treat. In the next section of our article, we will explore how to finalize the bars and get them ready for the freezer, ensuring a perfect snack that you can enjoy anytime.

Assembling the Base
To start, prepare the oat base that will give your Frozen Cherry Chocolate Oat Bars their delightful texture. For this, you need to ensure that your baking pan is properly lined. This step is crucial for easy removal of the bars once they are set. Use parchment paper, allowing it to hang over the edges of the pan. This will enable you to lift out the bars without any fuss after they have frozen.
Techniques for Evenly Pressing the Oat Mixture
Once the pan is lined, spoon the oat mixture into it. Using your fingers or the back of a measuring cup, press the mixture down firmly and evenly across the bottom of the pan. This step is critical because an uneven base can lead to bars that crumble or break apart when cut. Aim for a compact, cohesive layer that is about an inch thick. The firmer you press the mixture, the better it will hold together during freezing and slicing.
Making the Cherry Filling
The cherry filling is where the magic happens in these bars, providing a burst of flavor and natural sweetness. To prepare the filling, combine fresh or frozen cherries in a saucepan with a bit of sweetener and lemon juice. Over medium heat, cook the mixture, stirring occasionally, until it begins to break down and thicken.
How to Know When the Filling is Ready
The filling is ready when the cherries have softened significantly and the mixture has thickened to a jam-like consistency. This usually takes about 10-15 minutes. You can test its readiness by placing a small amount on a plate and allowing it to cool for a minute. If it holds its shape when pushed with a finger, it’s perfect for layering on your oat base.
Layering the Cherry Filling
Once your cherry filling has reached the desired consistency, it’s time to spread it over the oat base. Use a spatula or the back of a spoon to gently spread the filling evenly across the surface. This ensures that each bite of the oat bar is packed with cherry goodness. Be gentle during this process to avoid disturbing the oat base underneath.
Freezing the Bars
Now that you have your layers assembled, it’s time to freeze the bars. This step is essential for achieving the right texture and firmness. Place the pan in the freezer and allow it to chill for at least 2-3 hours, or until the filling is completely set and firm to the touch. You’ll know they’re ready when you can easily press your finger into the top without seeing any indentation.
Preparing the Chocolate Drizzle
While your bars are freezing, prepare the chocolate drizzle that will add a rich finishing touch. Begin by chopping your dark chocolate into small pieces to facilitate melting. You can melt the chocolate using a microwave or a double boiler. If you choose the microwave, heat the chocolate in 30-second intervals, stirring in between to ensure it melts evenly and doesn’t scorch.
Importance of Incorporating Coconut Oil
To achieve a smooth, glossy drizzle, incorporate a tablespoon of coconut oil into the melted chocolate. This addition not only enhances the shine but also helps the chocolate maintain a nice texture when drizzled. Stir the coconut oil into the melted chocolate until fully combined; this will give you a silky consistency that is perfect for drizzling.
Drizzling with Chocolate
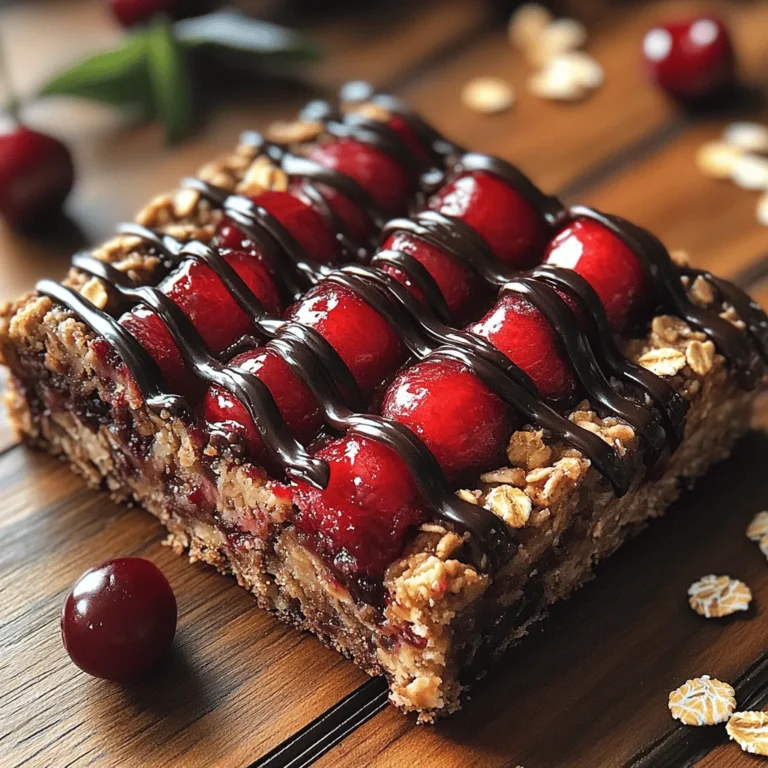
Once your chocolate is melted and mixed with the coconut oil, remove the oat bars from the freezer. Place the pan on a cutting board or a heat-resistant surface. Using a fork or a spoon, drizzle the melted chocolate over the top of the bars in a zigzag pattern. For a more artistic look, you could pour the chocolate into a piping bag and create delicate designs.
Allowing the Chocolate to Set Properly
After drizzling, return the bars to the freezer for about 15-20 minutes, or until the chocolate has completely set. This will ensure that the chocolate layer remains intact when you cut the bars, providing a beautiful presentation.
Cutting and Serving
Once the chocolate is set, it’s time to cut your bars. Use a sharp knife to slice them into squares or rectangles, depending on your preference. To prevent the bars from falling apart, it’s best to cut them while they are still slightly frozen. This will help maintain their shape and prevent any messy edges.
Suggestions for Storage and Serving Options
Store the cut bars in an airtight container in the freezer, where they can last for up to three months. For serving, you can enjoy them straight from the freezer for a refreshing snack. These bars are also perfect for lunchboxes, picnics, or as a quick energy boost after a workout. Pair them with a glass of almond milk or a cup of tea for a delightful treat.
Nutritional Information and Health Benefits
When it comes to nutrition, these Frozen Cherry Chocolate Oat Bars are an excellent choice. Each serving provides a good balance of healthy carbohydrates, fiber, and antioxidants.
– Nutritional values per serving (based on a recipe yielding 12 bars):
– Calories: 150
– Protein: 3g
– Carbohydrates: 22g
– Fiber: 3g
– Sugars: 8g
– Fat: 6g
Health Benefits of Key Ingredients
The oats in this recipe are a fantastic source of soluble fiber, which can help lower cholesterol and improve heart health. Cherries are rich in antioxidants, vitamins, and minerals, providing anti-inflammatory benefits while also supporting brain health. Dark chocolate, when consumed in moderation, is known for its ability to boost heart health and improve mood, making these bars a guilt-free indulgence.
Conclusion
In conclusion, the Frozen Cherry Chocolate Oat Bars are not only delicious but also versatile and health-conscious. They provide a perfect balance of sweetness and nutrition, making them an ideal snack for any time of day. Whether you’re looking for a post-workout bite, a treat for the kids, or simply a delightful dessert, these bars fit the bill perfectly.
I encourage you to try this recipe at home. The joy of creating your own snacks and desserts is unmatched, and these bars are a great way to start. Enjoy the satisfaction of making a wholesome treat that everyone will love. With just a few simple ingredients, you can craft something special that brings both health and happiness to your kitchen.


