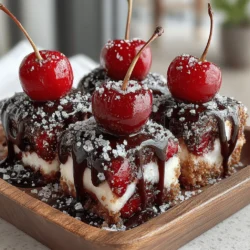
Frozen Yogurt Chocolate Cherry Cubes: A Deliciously Healthy Snack
As health-conscious eating continues to gain traction, more individuals are seeking out nutritious snack options that do not compromise on flavor. The rise of healthier alternatives to traditional desserts has opened the door to innovative recipes that provide the joy of indulgence while supporting a balanced lifestyle. One such delightful creation is Frozen Yogurt Chocolate Cherry Cubes. This recipe combines the rich flavors of dark chocolate with the natural sweetness of cherries, all enveloped in a creamy yogurt base, making it a satisfying and guilt-free treat.
The appeal of Frozen Yogurt Chocolate Cherry Cubes lies not only in their taste but also in their array of health benefits. Greek yogurt serves as the foundation, offering a robust source of protein and probiotics, which are integral for gut health. Cherries, whether fresh or frozen, contribute a wealth of antioxidants and vitamins, while dark chocolate enhances both flavor and nutritional value. This recipe is a celebration of flavors and textures—smooth yogurt, juicy cherries, and the satisfying crunch of chocolate—crafted into bite-sized cubes that are perfect for snacking.
Understanding the Ingredients
To fully appreciate the Frozen Yogurt Chocolate Cherry Cubes, it’s essential to understand the health benefits of each key ingredient.
Greek Yogurt
At the heart of this recipe is Greek yogurt, a versatile ingredient that has gained popularity for its impressive nutritional profile. Packed with protein, Greek yogurt can help support muscle repair and growth, making it an excellent snack option for anyone looking to maintain or build muscle mass. Additionally, it contains probiotics, which are beneficial bacteria that promote gut health and support digestion. The creamy texture of Greek yogurt provides a rich base for our cubes, making them both indulgent and healthy.
Cherries
Cherries are not just a delicious fruit; they are also a powerhouse of nutrients. Rich in antioxidants, particularly anthocyanins, cherries help combat oxidative stress and inflammation in the body. They are a great source of vitamins C and A, both of which play vital roles in maintaining a healthy immune system and skin. The natural sweetness of cherries balances the tartness of yogurt, creating a delightful contrast that enhances the overall flavor of the cubes. Whether you opt for fresh cherries or frozen, both varieties hold their nutritional value and add a burst of color to the final product.
Sweeteners: Honey vs. Maple Syrup
To sweeten our frozen cubes, we have options like honey or maple syrup. Honey is a natural sweetener with antibacterial properties and can provide a quick energy boost due to its high glycemic index. On the other hand, maple syrup is not only delicious but also contains beneficial minerals like manganese and zinc. Both sweeteners can enhance the flavor of your yogurt base, but it’s crucial to use them in moderation to keep the overall sugar content in check.
Dark Chocolate
No dessert is complete without chocolate, and in this recipe, dark chocolate takes center stage. Dark chocolate is known for its rich flavor and numerous health benefits, including being a source of antioxidants, particularly flavonoids. These compounds are linked to heart health and improved blood flow. When melted and incorporated into our cubes, dark chocolate not only elevates the taste but also adds a touch of indulgence that complements the tartness of the cherries.
Coconut Oil
Incorporating coconut oil into the melted chocolate serves a dual purpose. It not only improves the texture, ensuring that the chocolate coats the yogurt and cherries evenly, but it also adds a dose of healthy fats. Coconut oil is known for its medium-chain triglycerides, which can support metabolism and provide a quick source of energy. The addition of coconut oil ensures that the chocolate remains smooth and easy to work with, making the preparation process seamless.
Sea Salt
Lastly, a pinch of sea salt is a game-changer in this recipe. Not only does it enhance the overall flavor profile, but it also provides a subtle contrast to the sweetness of the yogurt and cherries. When used in moderation, sea salt can elevate the taste of desserts without overwhelming them. It’s important to be mindful of the quantity, as the goal is to enhance flavors without overshadowing the natural sweetness of the ingredients.
Step-by-Step Guide to Making Frozen Yogurt Chocolate Cherry Cubes
Now that we’ve explored the ingredients and their benefits, let’s dive into the preparation of Frozen Yogurt Chocolate Cherry Cubes. Follow these detailed steps to create this delicious snack:
Step 1: Prepare the Cherries
If you’re using fresh cherries, start by washing them thoroughly and removing the pits. This step is crucial, as biting into a pit can ruin the experience of these delightful cubes. If you opt for frozen cherries, there’s no need to thaw them before use; simply measure out the desired amount and set them aside. Frozen cherries can add a refreshing chill to the cubes, and their natural sweetness will infuse the yogurt.
Step 2: Mix the Yogurt Base
In a mixing bowl, combine Greek yogurt with your choice of sweetener—honey or maple syrup—and a pinch of vanilla extract for added flavor. Use a whisk to blend the ingredients until they are smooth and well combined. The goal is to achieve a creamy consistency that will hold the cherries well. If the mixture seems too thick, a splash of milk can help loosen it without compromising the texture.
Step 3: Incorporate the Cherries
Once the yogurt base is ready, gently fold in the prepared cherries. It’s important to do this step carefully to ensure even distribution throughout the yogurt. You want to avoid crushing the cherries, which can release too much juice and alter the texture of the yogurt. Stir until the cherries are evenly mixed in, creating a vibrant mixture that showcases the bright red of the fruit against the creamy yogurt.
Step 4: Prepare the Chocolate Coating
In a microwave-safe bowl, combine high-quality dark chocolate with a tablespoon of coconut oil. Microwave the mixture in 30-second intervals, stirring in between, until the chocolate is fully melted and smooth. The coconut oil will help the chocolate to be more fluid, making it easier to coat the yogurt cubes later on. Be cautious not to overheat the chocolate, as this can cause it to seize.
Step 5: Assemble the Cubes
To form the cubes, you can use silicone molds or an ice cube tray. Pour the yogurt and cherry mixture into the molds, filling them about three-quarters of the way full. Once filled, place the molds in the freezer for about 1-2 hours, allowing the yogurt to set. After the initial freezing period, remove the molds and dip each cube into the melted chocolate, ensuring a complete coating. Place the chocolate-coated cubes back in the freezer for an additional hour to allow the chocolate to harden.
These initial steps lay the foundation for creating your Frozen Yogurt Chocolate Cherry Cubes. By carefully preparing each component, you set yourself up for a delightful treat that aligns with your health goals while satisfying your sweet tooth. As you continue, you’ll find that these cubes not only make for a delicious snack but also a fun project to share with family and friends.
Filling the Molds: Techniques to Avoid Air Bubbles
When it comes to filling your molds with the yogurt-cherry mixture, ensuring a smooth consistency is key to achieving aesthetically pleasing Frozen Yogurt Chocolate Cherry Cubes. Air bubbles can mar the surface and texture of the cubes, so here are some techniques to minimize them:
1. Gentle Mixing: When combining your yogurt and cherry mixture, stir gently. Use a spatula to fold the ingredients together rather than vigorously whisking them. This method helps incorporate the ingredients without introducing too much air.
2. Tapping the Mold: After pouring the mixture into the molds, tap them gently on the counter. This action encourages any trapped air bubbles to rise to the surface and escape.
3. Using a Squeeze Bottle: For precision, you can transfer the yogurt mixture into a squeeze bottle. This method allows you to control the flow and reduce air pockets as you fill each cavity.
4. Layering Technique: If you plan to add layers (like a cherry layer topped with yogurt), pour a small amount of yogurt in first, add cherries, and then top with more yogurt. This layering can help to minimize bubbles between the layers.
By implementing these techniques, you’ll ensure that your Frozen Yogurt Chocolate Cherry Cubes have a smooth and appealing texture.
Melting Chocolate Tips: Microwave Safety and Achieving the Right Texture
Melting chocolate can be a tricky process, but with the right techniques, you can achieve a smooth, glossy drizzle for your cubes. Here are some essential tips for melting chocolate safely and effectively:
1. Choose the Right Container: Use a microwave-safe bowl, preferably glass or ceramic. Avoid plastic, as it can warp or be damaged by heat.
2. Chop the Chocolate: Before microwaving, chop the chocolate into small, uniform pieces. This ensures even melting and reduces the risk of burning.
3. Start Slow: Microwave the chocolate in short bursts of 20 to 30 seconds, stirring after each interval. This method helps prevent overheating and allows you to monitor the melting process closely.
4. Avoid Water Contact: Ensure that no water gets into the chocolate, as moisture can cause it to seize. Keep the bowl dry and use dry utensils for stirring.
5. Achieve the Right Texture: The chocolate should be smooth and pourable but not too hot. If it seems thick, you can add a small amount of coconut oil or vegetable oil to achieve a thinner consistency.
By following these tips, you’ll have perfectly melted chocolate ready for drizzling over your cubes.
Drizzling Chocolate: Creative Ideas for Presentation and Aesthetics
The presentation of your Frozen Yogurt Chocolate Cherry Cubes can elevate them from a simple treat to an eye-catching dessert. Here are some creative ideas for drizzling chocolate and adding visual appeal:
1. Contrasting Colors: Use white chocolate for drizzling if you’ve melted dark chocolate for the base. The contrast creates a striking visual effect that is sure to impress.
2. Zigzag Pattern: Use a fork or a piping bag to create a zigzag pattern across the top of the cubes. This playful design adds charm and style.
3. Sprinkle Toppings: After drizzling the chocolate, consider adding toppings like crushed nuts, shredded coconut, or colorful sprinkles. This not only adds texture but also enhances the visual appeal.
4. Flavored Chocolate: Experiment with flavored chocolate drizzles, such as mint or orange-infused chocolate. These variations can enhance the flavor profile and provide a gourmet touch.
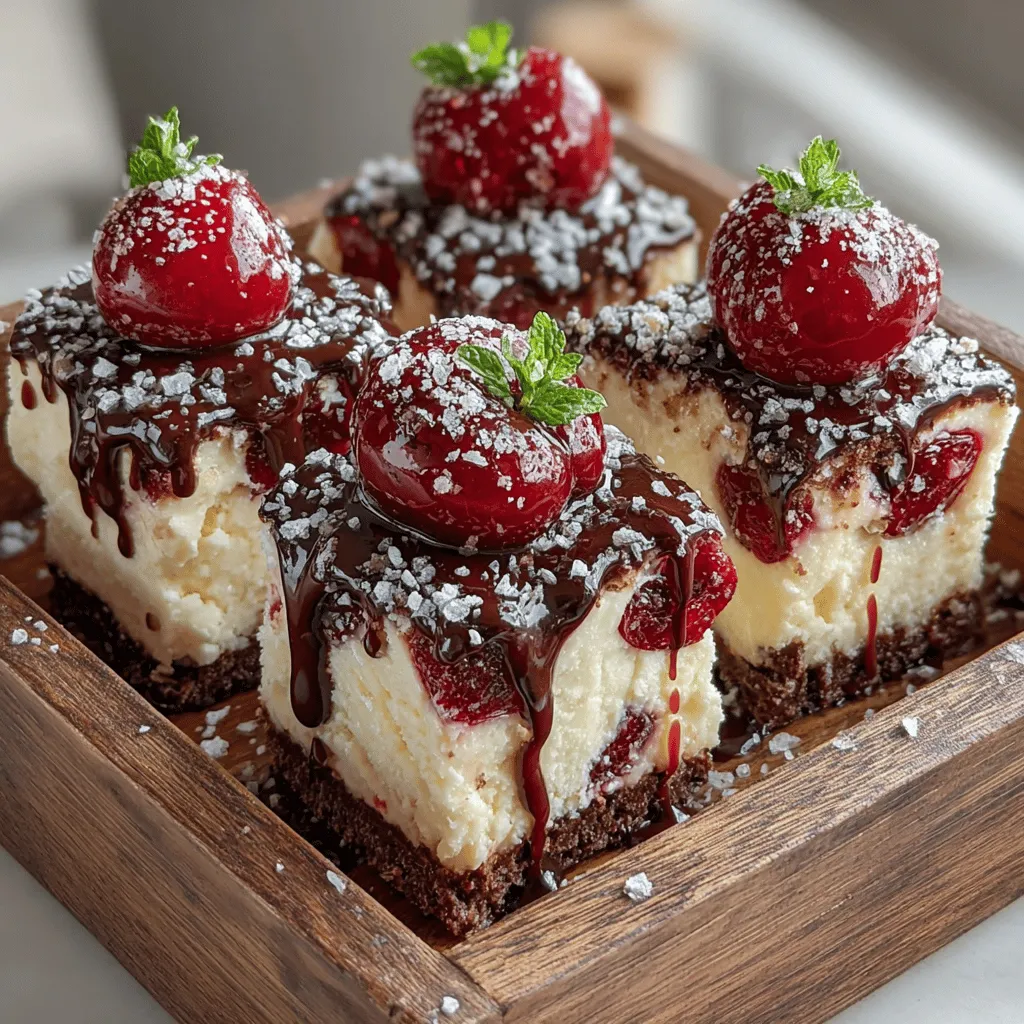
5. Serving on a Platter: Once the chocolate has set, arrange the cubes on a decorative platter or board. You can add fresh cherries or mint leaves around the cubes for a fresh touch.
With these presentation tips, you can make your Frozen Yogurt Chocolate Cherry Cubes as visually delightful as they are delicious.
Freezing Process: Best Practices for Achieving Optimal Texture
The freezing process is crucial for achieving the right texture in your Frozen Yogurt Chocolate Cherry Cubes. Here are some best practices to ensure they turn out perfectly:
1. Initial Freeze: After filling the molds, place them in the freezer for at least 2-3 hours or until the mixture is firm. A longer freeze can help the flavors meld together.
2. Avoid Frequent Opening: Try to avoid opening the freezer door frequently during the initial freeze. Each time the door is opened, the temperature fluctuates, which can affect the consistency of the cubes.
3. Storage: Once fully frozen, carefully remove the cubes from the molds. Store them in an airtight container or a zip-top bag, separating layers with parchment paper to prevent them from sticking together.
4. Proper Temperature: Keep the cubes stored in the coldest part of the freezer for optimal texture. The ideal temperature for freezing is 0°F (-18°C) or lower.
5. Thawing: When it’s time to enjoy your cubes, allow them to sit at room temperature for a few minutes before serving. This slight thawing will enhance the flavor and make them easier to bite into.
By adhering to these freezing best practices, you’ll ensure that your Frozen Yogurt Chocolate Cherry Cubes have a creamy, delightful texture.
Serving Suggestions and Storage Tips for Longevity
To fully enjoy your Frozen Yogurt Chocolate Cherry Cubes, consider these serving suggestions and storage tips for longevity:
1. Serving Size: Aim for one or two cubes per serving, depending on your dietary needs. These cubes are rich and satisfying, making them a perfect portion-controlled treat.
2. Pairing Ideas: Serve the cubes alongside a cup of herbal tea or coffee for a delightful afternoon snack. They can also be a refreshing dessert after a meal on warm days.
3. Storage Duration: If stored properly, your Frozen Yogurt Chocolate Cherry Cubes can last up to three months in the freezer. Just ensure they’re in an airtight container to prevent freezer burn.
4. Labeling: If you make multiple batches with different flavors, label your containers with the date and flavor for easy identification.
5. Gifting: These cubes make excellent homemade gifts. Present them in a decorative box or jar, and consider adding a personalized note to your recipient.
By following these serving and storage tips, you can enjoy your Frozen Yogurt Chocolate Cherry Cubes at their best.
Nutritional Information
Understanding the nutritional value of your Frozen Yogurt Chocolate Cherry Cubes is essential for making informed dietary choices. Here’s a breakdown of the calories and macronutrients per cube:
– Calories: Approximately 50-60 calories per cube, depending on the yogurt and chocolate used.
– Macronutrients:
– Carbohydrates: 8-10 grams
– Protein: 2-3 grams
– Fat: 2-4 grams
These cubes offer a balance of macronutrients that can fit well into a healthy diet. They are a much healthier alternative compared to traditional snack options like ice cream or candy bars, which often contain higher sugar and fat levels.
For portion control, consider enjoying one or two cubes as a satisfying treat rather than indulging in larger desserts. This way, you can enjoy the rich flavors while still keeping your snack healthy.
Creative Variations and Customizations
The beauty of the Frozen Yogurt Chocolate Cherry Cubes lies in their versatility. Here are some suggestions for creative variations and customizations:
1. Alternative Fruits: While cherries are delicious, consider using other fruits like strawberries, blueberries, or bananas. Each fruit will impart its unique flavor and texture.
2. Different Sweeteners: Depending on your dietary needs, you can explore using alternative sweeteners. Honey, maple syrup, or agave nectar can provide different flavor profiles.
3. Additions: Enhance the nutritional value and crunch by adding nuts, seeds, or granola to the mixture before freezing. This not only increases texture but also adds healthy fats and fiber.
4. Dairy-Free Options: If you’re looking to make these cubes dairy-free, substitute regular yogurt with coconut yogurt or almond yogurt. For the chocolate, opt for dairy-free chocolate chips or dark chocolate.
5. Flavor Extracts: Experiment with adding flavor extracts, such as vanilla, almond, or mint. Just a few drops can elevate the flavor of your cubes to a new level.
These customizations allow you to tailor the recipe to fit your personal preferences or dietary restrictions while keeping the essence of the delightful Frozen Yogurt Chocolate Cherry Cubes.
Conclusion
Frozen Yogurt Chocolate Cherry Cubes are not just a tasty treat; they are a healthy snack option perfect for satisfying your sweet cravings without guilt. With their creamy texture, rich flavor, and versatility, they make an ideal choice for anyone seeking a refreshing dessert.
By incorporating these cubes into your snacking routine, you are not only indulging in a delicious treat but also making a healthier choice compared to conventional snacks. So why not give this recipe a try? Enjoy making these cubes and share them with family and friends for a delightful experience that promotes healthy eating habits. Embrace the joy of healthy snacking, and let your culinary creativity shine with this simple yet satisfying recipe!